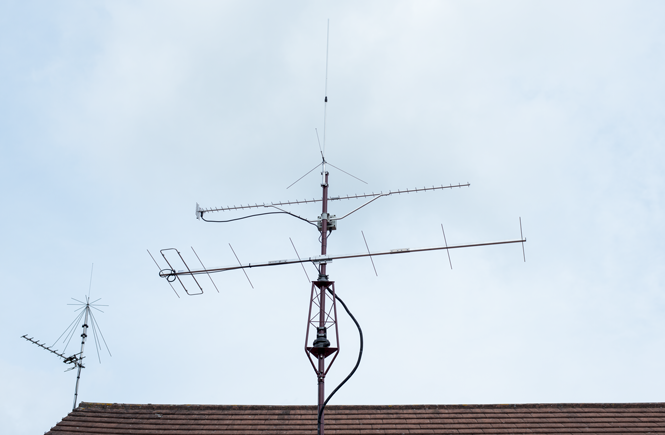
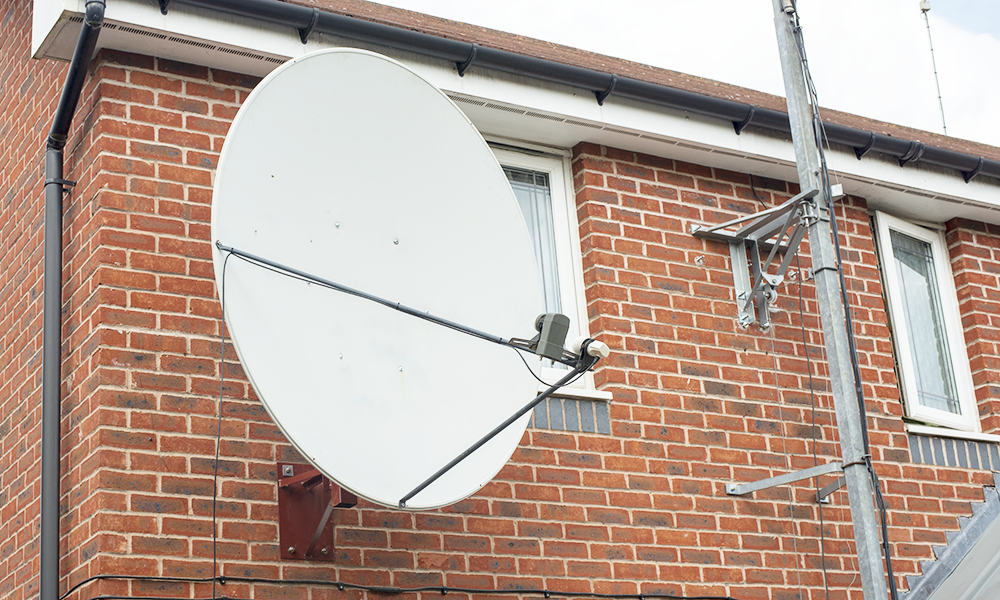
In February 2020 my 1.5 metre prime satellite dish was destroyed by strong winds from storm Dennis. The dish was ripped from it’s mount overnight and I found it at the end of my garden bent and dented. Beyond repair I had no choice but to scrap it.
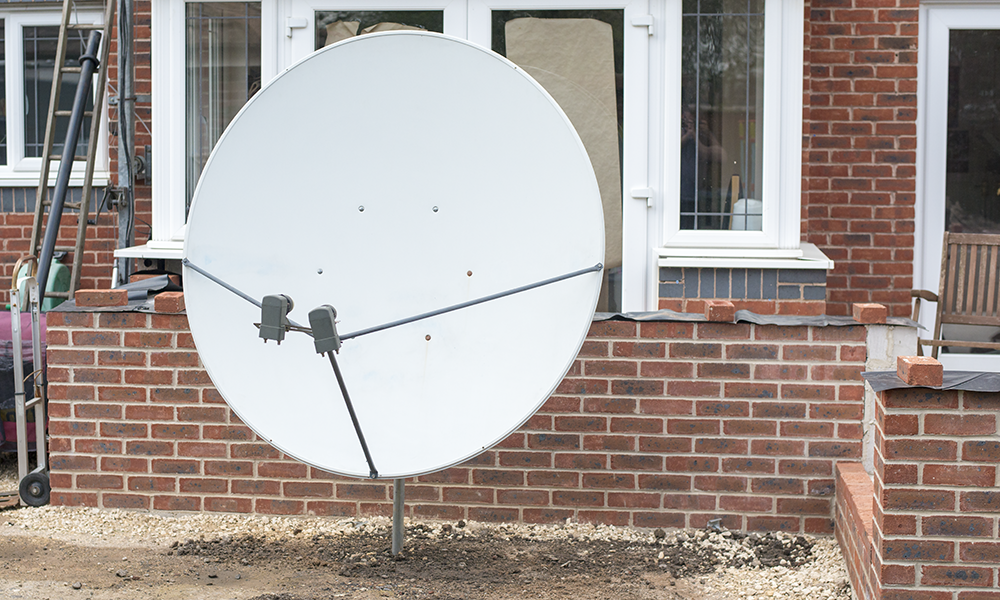
After a few weeks of searching I purchased a secondhand 1.5 metre x 1.7 metre offset dish.
This blog post contains pictures of the dish as it arrived. Soon I will be making modifications as part of my QO-100 Es’hail-2 project.
Click the continue button to see more.
After looking around lots of different websites I found this offset dish for sale 16 miles away in Nottingham. I paid £40 for the dish and £15 for delivery. This heavy-duty dish is made of steel and really good condition.
For development and testing purposes I temporarily mounted the dish on an alloy pole I dug into the ground.
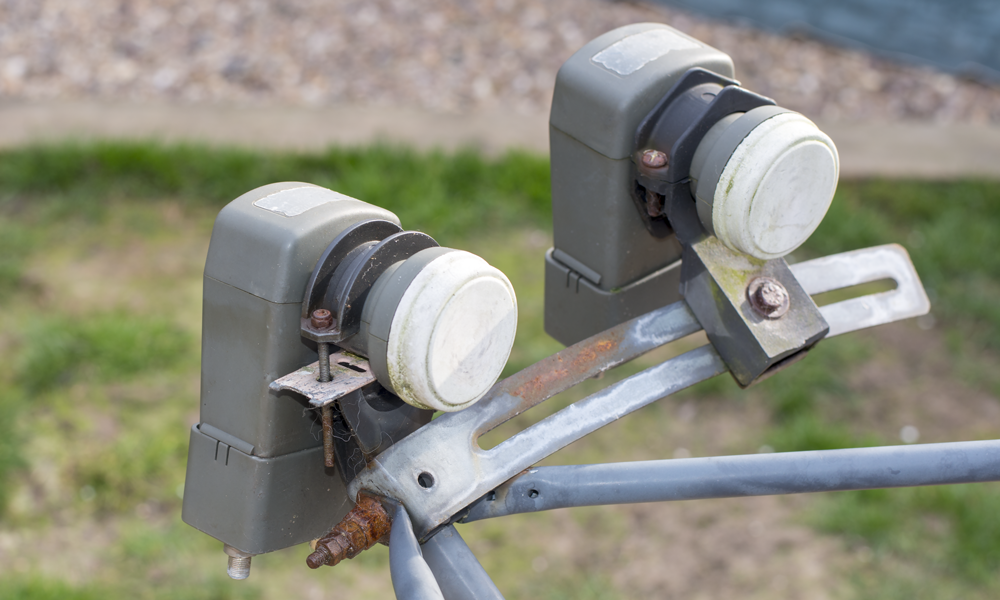
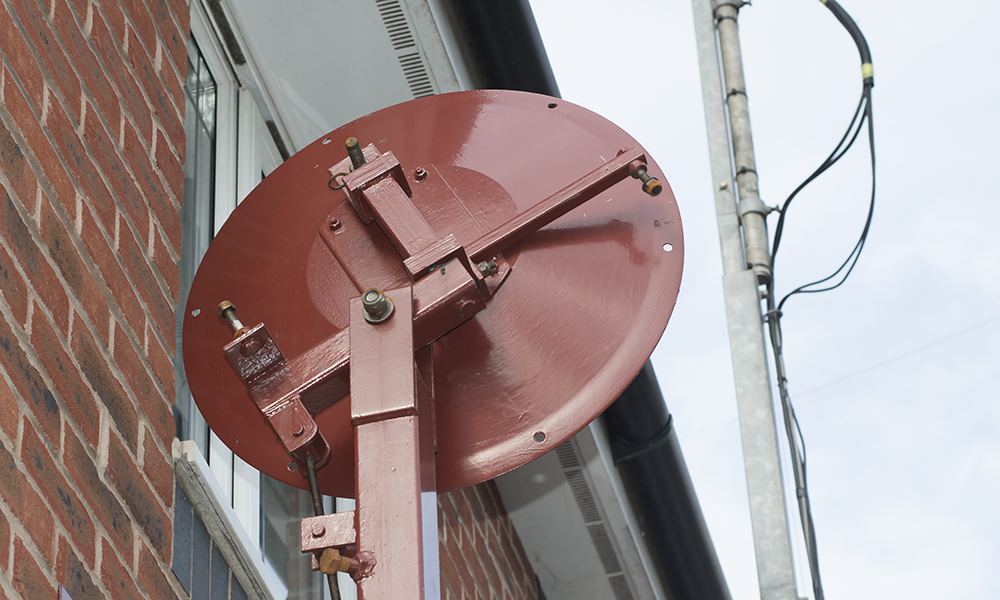
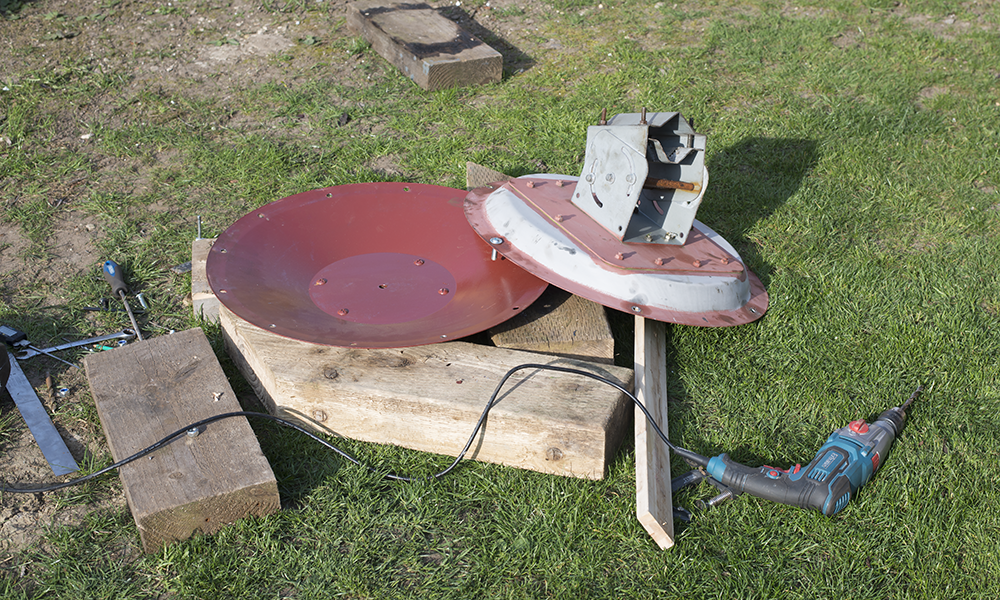
The dish came with two LNBs. I will remove these and replace with a dual-band patch antenna. I am also going to replace the supporting arms with new stronger and better quality ones.
The previous owner had ensured all of the bolts on the dish had been copper greased so all nuts can be freed off easily.
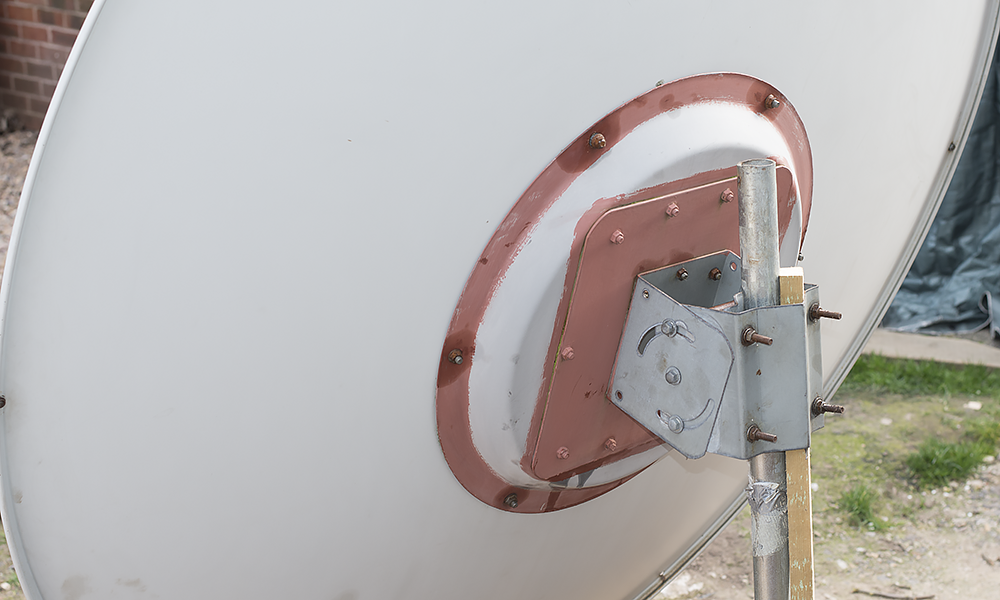
The mounting and elevation bracket is heavy-duty and again each of the bolts were copper greased so free off nicely for adjustment.
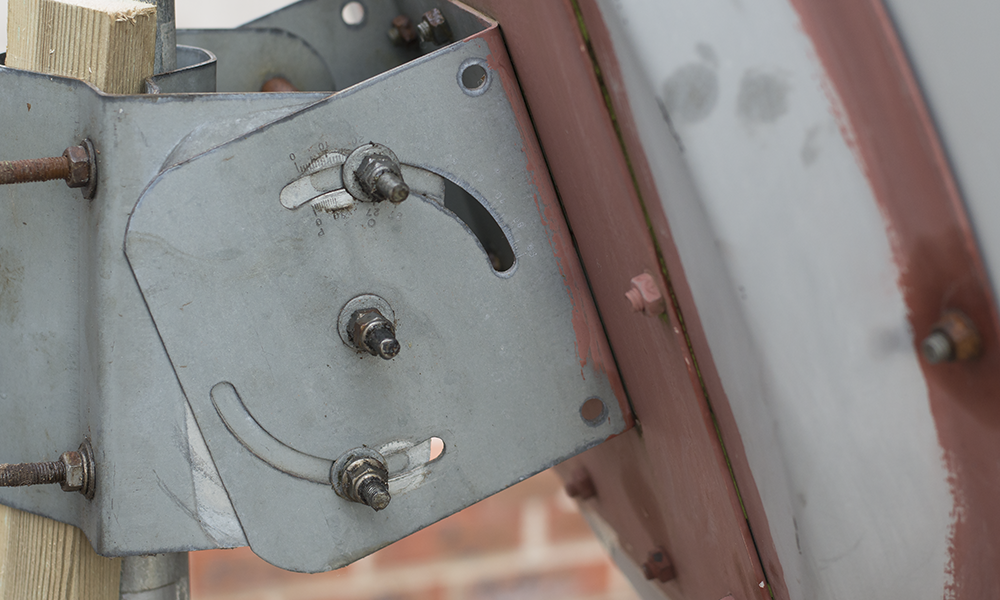
I measured the holes of the mount from my prime dish (below) and then measured the holes on the offset dish mount. They were the same distance but unfortunately 30 degrees out.
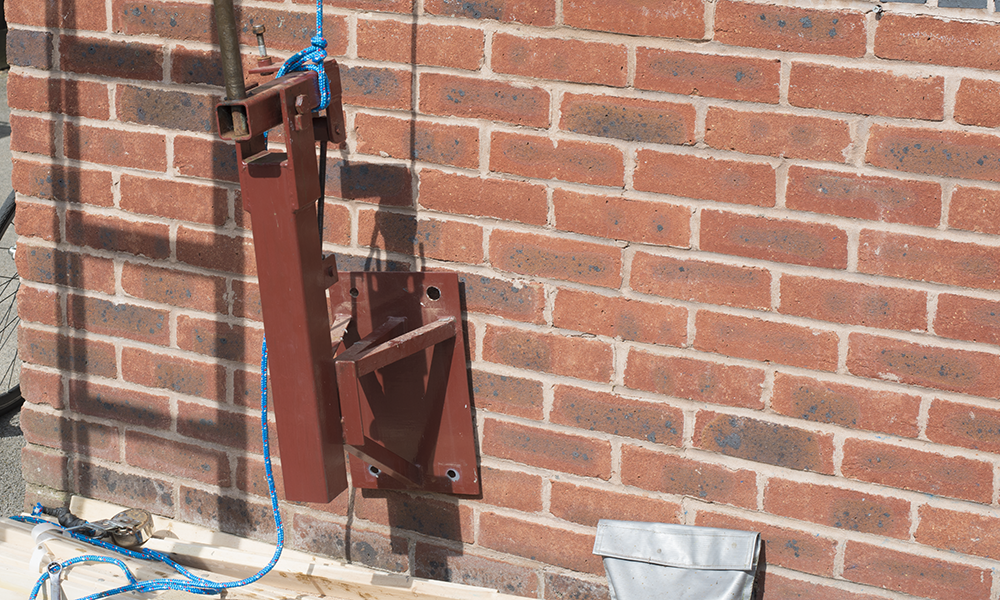
The bracket is heavy even without the dish. Given the weight and size of the dish I decided to make another bracket and added an eyelet so I could use rope to lower and raise the bracket and dish in place. I used Rawlplug epoxy resin and M10 bolts.
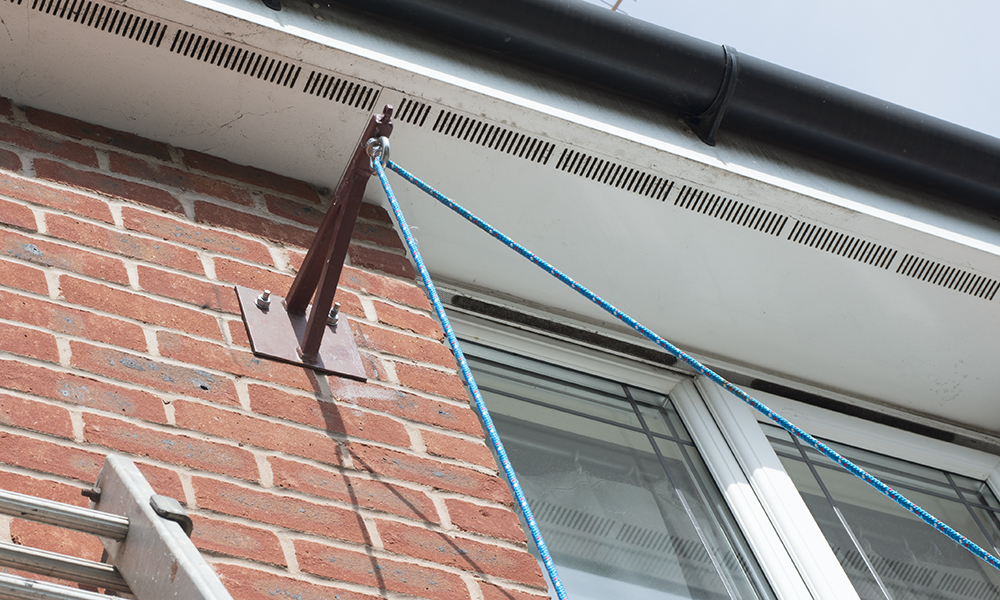
This photo shows me lowering the main bracket after removing the dish mount and unbolting it from the wall.
I overlaid the mount that came with the dish on top of my old dish mount to measured hole positions.
Using an M10 drill bit I drilled six new holes into the old dish mount.
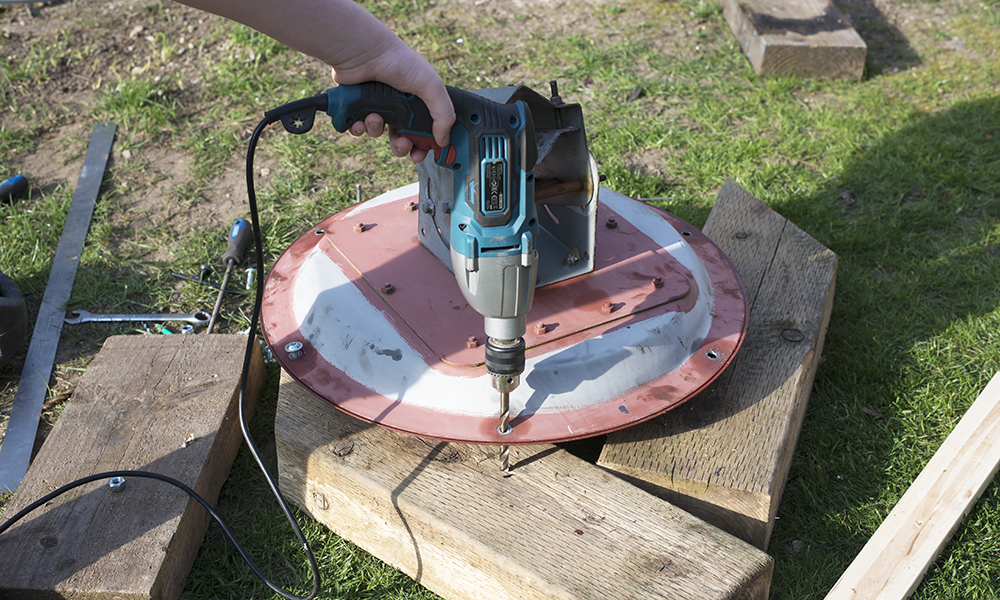
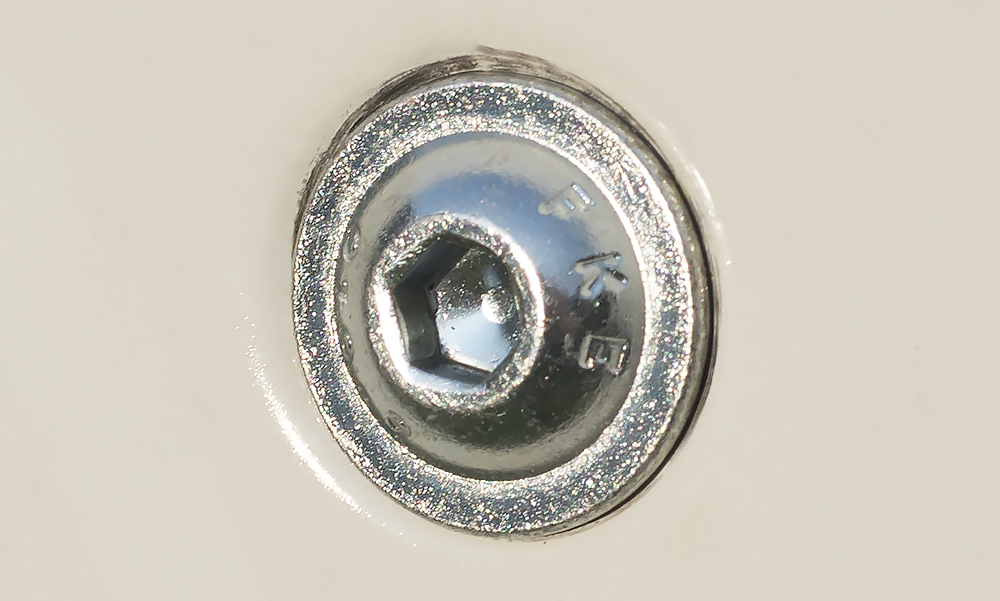
I purchased a set of 6 stainless M10 flanged bolts with hex head and inserted them from front of dish and through the new holes on the dish mount.
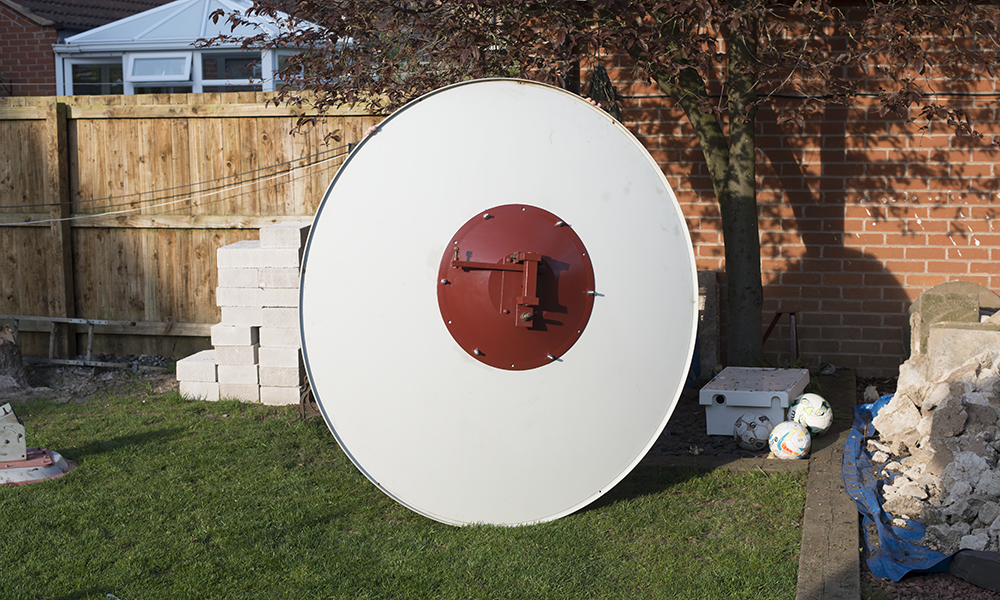
This photo shows the mount fastened to the back of the dish.
I removed the wire from my Tennamast winch and used it to hoist up my dish using rope.
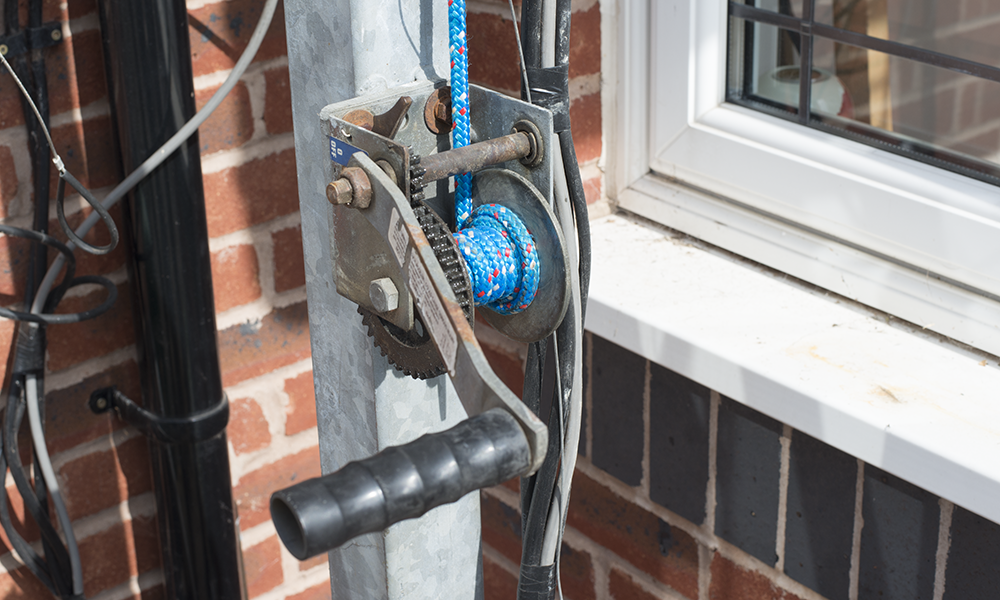
It took a bit of effort to get the bracked over the bolts in the wall but I managed it. I made fine adjustments to the bracket using my spirit level to ensure the mount was exactly level and elevation set at 0 degrees.
NEXT STEPS
I now need to take the dish back down so I can add my POTY dual feed antenna.
Why not take a look at my YouTube channel here or Twitter posts here.
You can also register for my website here.
Thanks
73 de M0NWK
![]()