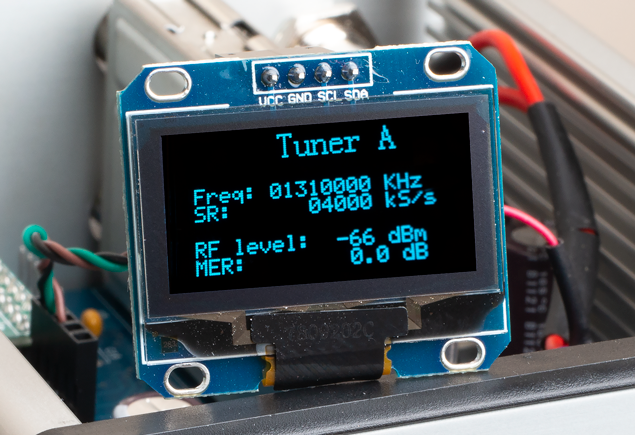
It’s 11th March 2019 and I’ve just added an OLED display to my MiniTiouner. A simple, low cost, low effort addition to an already brilliant piece of kit.
This blog post shows how I did it.
Click the continue button to see more.
For this project I am using MiniTiouner V2 and MiniTioune v0.8 software.
MY PARTS LIST
Below is a list of parts I used in this project:
- 1.3″ 128×64 IIC I2C SPI OLED display module
- 1 x 5 (or 3) pin HARWIN female connector
- 1 x 4 pin HARWIN female connector
- 8 x crimp connectors for HARWIN female connectors
- 4 x wires – each of a different colour (I use alarm wire)
OLED I2C
I’m not going to go into how I2C works. If you want to learn more about I2C see link here for a good explanation.
OLED PINS
The I2C OLED has four pins; VCC, GND, SCL and SDA.
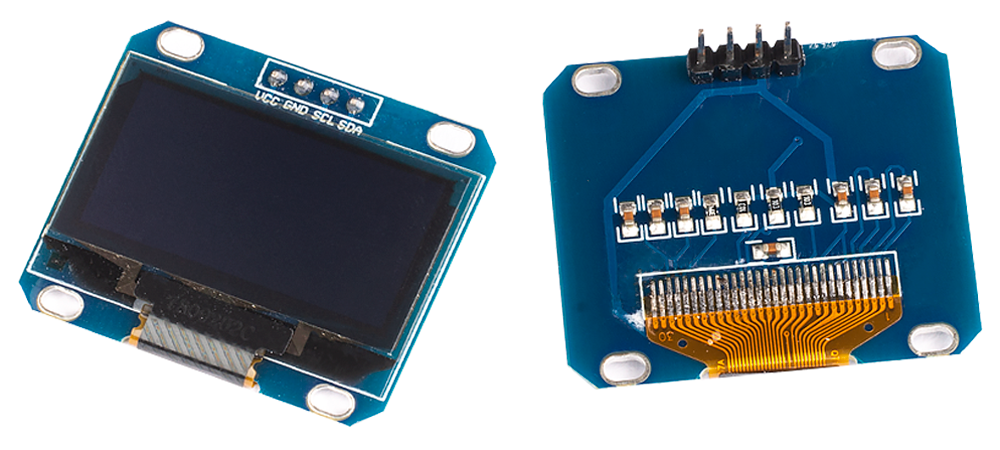
MINITIOUNER PCB
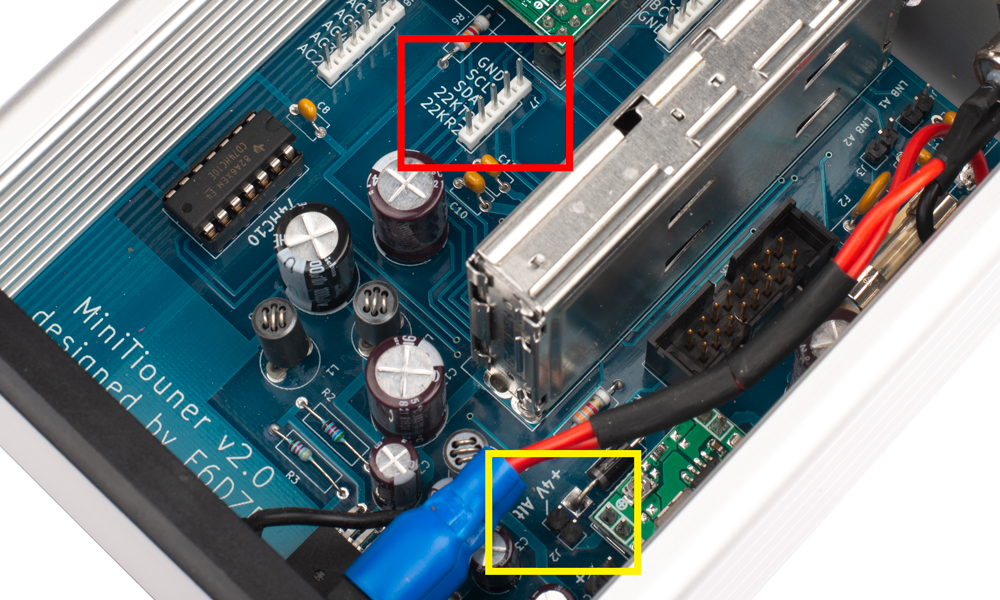
Looking at the MiniTiouner PCB you can see J7 (highlighted red) has GND, SCL and SDA pins but no +VCC.
I will be connecting the OLED +VCC to jumper J2 (highlighted yellow). I set the DC-DC regulator to 3.75V when I initially built the MiniTiouner.
OLED TO MINITIOUNER WIRING
I made a small wiring loom. The 4 pin female connector is to be connected to the OLED. The 5 pin female connector is for connecting to the J7 on the MiniTiouner PCB. You could use a 3 pin connector as there are only 3 wires but I think it looks more professional using 5.
I soldered the +VCC wire to the jumper for J2, which I made for the initial build.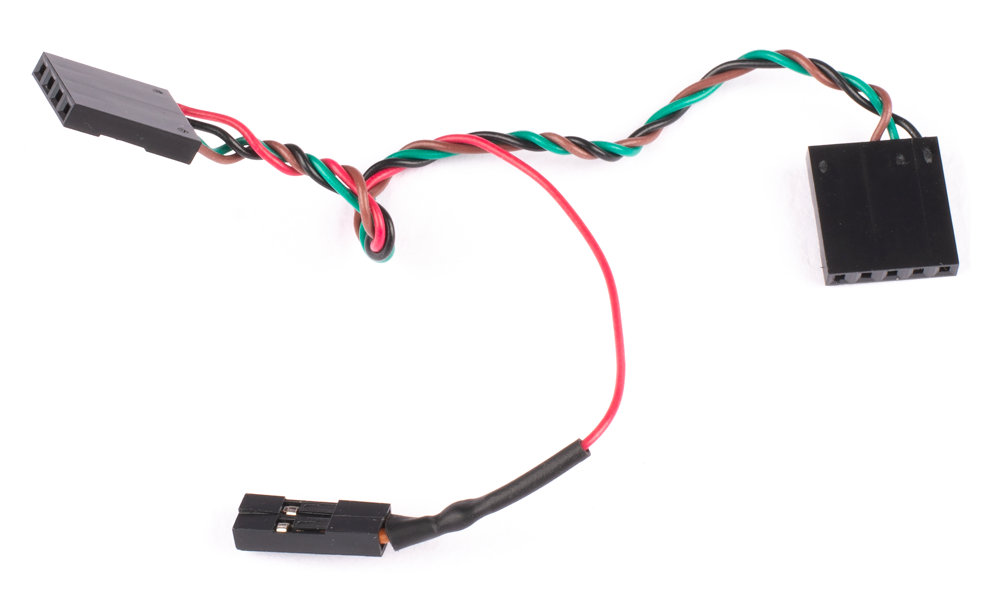
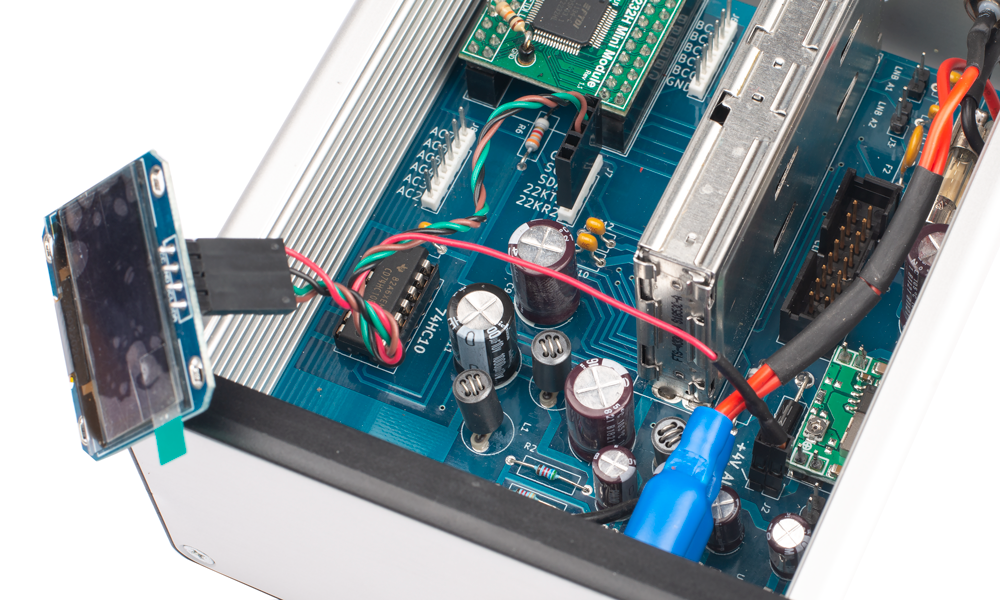
The photo below shows the connections from OLED to J2 and J7 on the MiniTiouner PCB.
MODIFY MINITIOUNE SOFTWARE INI FILE
In the MiniTioune v0.8 directory is a file called ‘minitioune.ini’.
![]()
I opened the file and located the ‘Display’ section. I changed value ‘OLED=no’ to ‘OLED=yes’.

I saved and closed the file.
TESTING THE OLED
I connected an antenna and power to the MiniTiouner then connected the MiniTiouner to my PC using USB cable.
Power to the MiniTiouner was turned on and I opened the MiniTioune software on the computer.
As soon as the software opened information was displayed on the OLED.
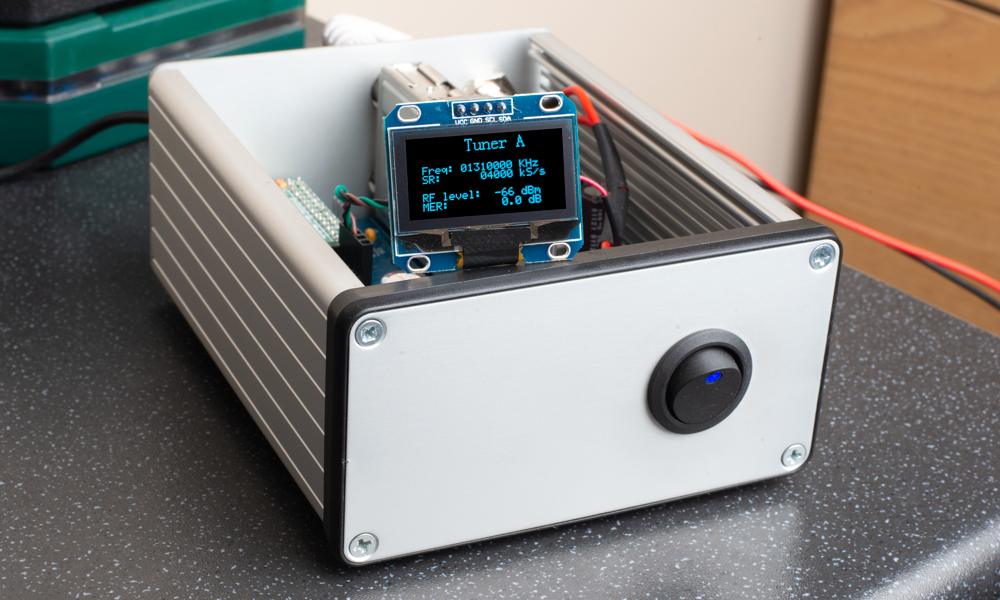
I checked the OLED was displaying the same information as displayed in the software and it was.
NEXT STEPS
In the near future I will cut a window for the OLED in the front panel using my milling machine.
Why not take a look at my YouTube channel here or Twitter posts here.
You can also register for my website here.
Thanks
73 de M0NWK

